
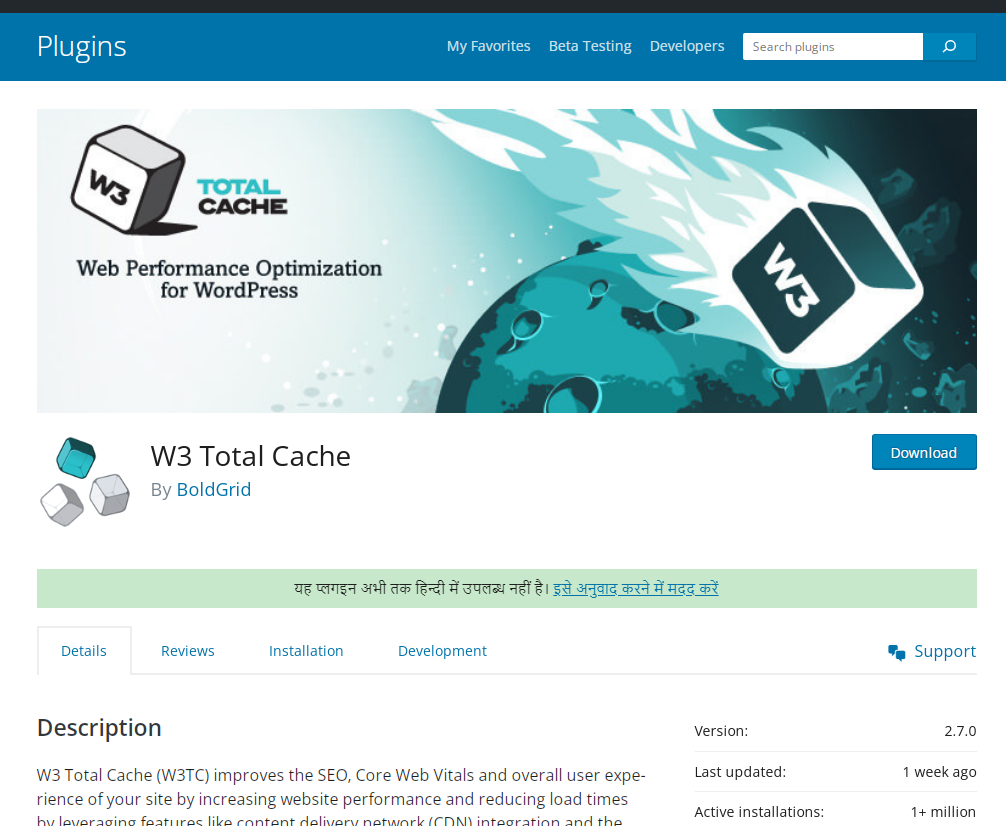
The W3 Total Cache plugin can be easy to set up. This powerful plugin features approximately 20 menus, some of which have a large number of options. This post will walk you through installing the W3 Total Cache plugin, which will help your site load faster.
The plugin is now owned by BoldGrid and has added a few new menus, but most of the changes apply to the paid version of the plugin and other BoldGrid products.
How to install W3 Total cache
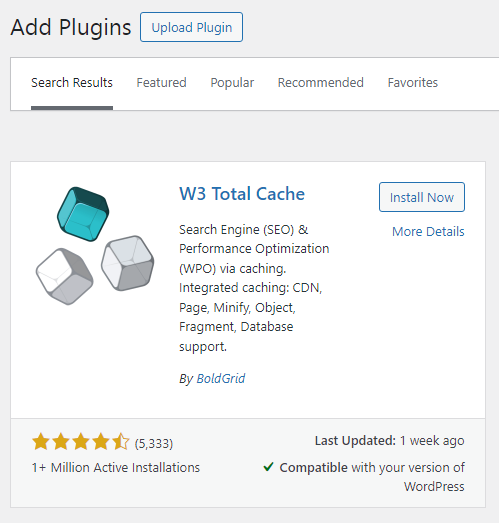
Got to Plugins sections and click on ‘Add New’, Install and activate it,
After activating the plugin, you should be taken to wizard page or skin for advanced settings.
Here is the secret bonus tip: On the Dashboard page, you can do a W3TC and server compatibility test, reset the cache from different W3TC modules, and view cache statistics/performance.
How to Reset W3 Total Cache Plugin
Following 6 steps will help you to reset this plugin easily,
- Compatibility Check – Tests the server which features are enabled/disabled.
- Empty all caches – Deletes the entire cache.
- Empty only the memcached cache(s) – Deletes all memcache.
- Empty only the opcode cache – Deletes the entire opcode cache.
- Empty only the disk cache(s) – Removes all cache that has been cached by the disk, disk: basic, or disk: enhanced methods.
- Update Media Query String – W3TC appends an entry at the end of CSS, JS and image files. To update the entry, click the button to have the browser download the latest version of the files.
Purge Modules with admin bar menu,
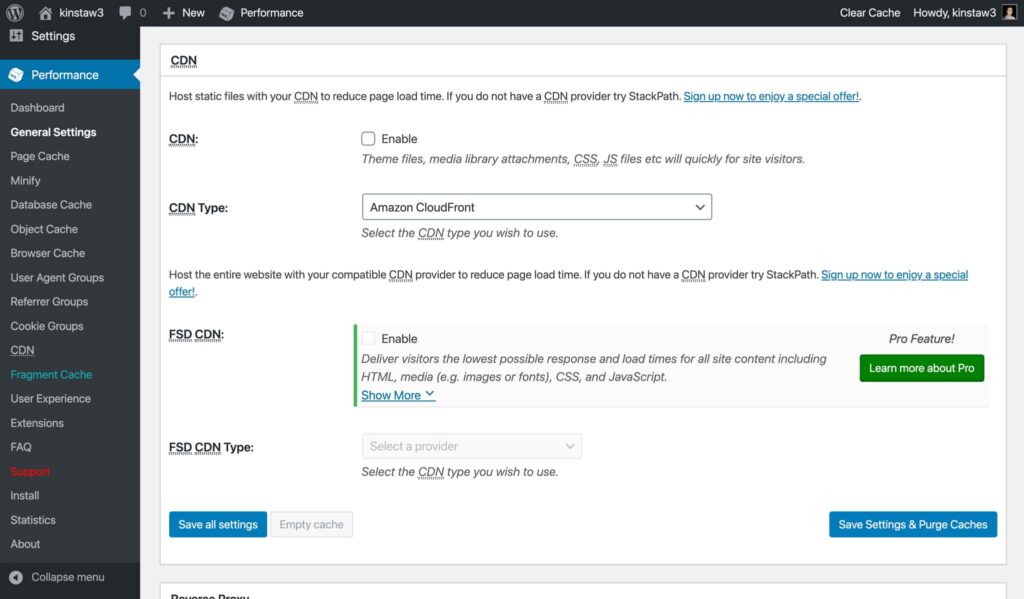
W3 Total Cache CDN Settings
Under these buttons there is a block with Premium services, a Share in social networks block, authorization in MaxCDN, a Swarmify block for video optimization and a Caching statistics block.
All of these blocks, except for Share, are paid services and do not improve site performance.
Next are the detailed settings for each type of caching.
General Settings
This is the main menu of W3 Total Cache. All the main functions of the plugin are turned on and off in this menu. More in-depth settings for each feature are found on the left in the Performance submenu.
General Settings: Page Cache
Page caching. This is one of the most important features of the W3TC. If you enable only Page Cache, it will noticeably speed up your site.
W3TC can use many different methods for caching pages. The default is Disk: Enhanced which will work for many sites, but if you are using shared hosting you may need to use the Disk: Basic settings. Use Basic if your hosting says resource usage is exceeded, or if the Compatibility Test determined that the server is incompatible with Disk: Enhanced settings.
On a dedicated or VPS server/hosting, you can choose one of the Opcode cache methods . If you are using your own server, you can install one of the Opcode cache. If your server is running Windows, select the Opcode method: WinCache .
Memcache is designed to be used on multi-server hosts. It can be used on cloud hosting, or on some shared hosting. If this module is installed on your server, use it.
After choosing a caching method, Save changes or Save changes and clear cache.
General Settings: Minify
Please note: CSS and JS minification (whether by W3TC plugin or another plugin) can break your site’s functionality/look and feel, so use this feature with caution. I often minify last.
You can merge and minify css and js files automatically with the Auto option, but you won’t be able to interact with each css or js file separately in the Minify menu. Turn on automatic mode, tweak the Minify menu, then run a test on the site. Switch to Manual mode if something doesn’t work.
If you’re using shared hosting, use the Disc cache mode. If not, stick with the caching mode you choose for Page Caching.
Opcode Cache
Enabled by default if the server has the Opcode cache module installed.
Database Cache
If your site is on shared hosting, leave this feature disabled. Database caching is a resource-intensive process. If your server is not powerful enough, instead of speeding up your site, using this feature may slow it down.
Database caching is easy to set up. Select Enable to enable and select the caching method you used in the previous sections.
If the database query process is slowing your site down, then database caching can speed it up by reducing the number of database hits. If your server is running out of memory, then an extra request to cache the database can slow down an overloaded server even more.
How to know whether or not to enable database caching:
- If your site is on shared hosting, it’s best not to enable this option.
- If your site has dedicated resources – like on a VPS or a dedicated server – enable database caching. After that, check your site for speed, and choose the option that shows the best results.
Object Cache
Object caching is built into WordPress core. The Object Cache module caches objects in the Object Cache API to reduce the number of complex database calls the server makes. It is configured in the same way as database caching, but as a result, it may or may not speed up your site. Test the site with the feature enabled and disabled.
If this type of caching is enabled, site resources will be cached in the user’s browser. When the page is loaded for the second time, it will be loaded from the browser cache.
CDN
If you use CDN (Content Delivery Network, Content Delivery Network) , then you can connect it here. The CDN will copy the cached files from the server, so the speed of page delivery is due to caching the content and delivering it from the closest CDN server to the visitor.
To enable CDN, check the Enable checkbox, select your provider, and click Save and clear cache.
You also need to go to the CDN section to set up your CDN account.
If you want to connect to Cloudflare, you need to go to the Extensions section, activate the Cloudflare extension, go back to the General Settings section, and configure your Cloudflare connection here.
Also Read:
Summary
There is a more settings available in General Section,
- Browser Cache: CSS & JS, HTML & XML, Media
- CDN: Advanced
- Referrer Groups
Disable CDN on SSL pages – if you receive warnings that some of the content is available via http, and some – via https, uncheck this box so that the content from SSL pages is not copied to the CDN.